About Us
Recording a Song
Recording audio can be a highly rewarding, creative experience, but there’s a lot that goes into even the shortest of recordings. This tutorial will touch on the basics of recording in the Creative Studio and the steps taken for a smooth recording session.
What You’ll Need:
- Microphone
- XLR Cable (for microphone)
- Instrument (we will be using voice for our examples)
- General Computer Skills
- Setting Up Your Session
First things first, before you start recording anything, you must make sure everything is properly plugged in, started up, and working correctly. The first thing to make sure you do is turn on the computer and the rack.
The rack is the large box containing 3 pieces of equipment. They go, in order from top to bottom: power unit (top), headphone amp (middle), audio interface (bottom).
To set these up, first turn on the power unit by flipping the switch on the right side of the unit. This is followed by turning on the other two units with similar switches found on their right sides. The units, when powered on, will have several LED lights that will be lit up. These will not be lit up if the unit is powered off.
The computer power button is located on the back, bottom left side of the computer. It is a small, circular button.
Click here for a diagram of the rack.
1.1 Choosing a Template
We have 2 different audio recording softwares on our computers: Garageband and Logic Pro X. Garageband is a very basic recording software that comes standard with most Mac computers. Logic Pro X is a more advanced, but a very similar looking and functioning application. For the purposes of this tutorial, we will be referencing Logic Pro X (shortened to Logic) as our recording software of choice.
![]()
-Program Icons
On the desktop of our machines, you will see the icon for Logic, GarageBand, and a folder with Logic Pro Song Templates inside of it. If you double click on the application icon for Logic, a screen will pop up asking you to create a New Project. On the left side of the screen, there are 3 options, vertically placed, to select, one being a folder called My Templates. If you are unfamiliar with Logic, it is highly recommended you utilize one of these templates to begin your project.
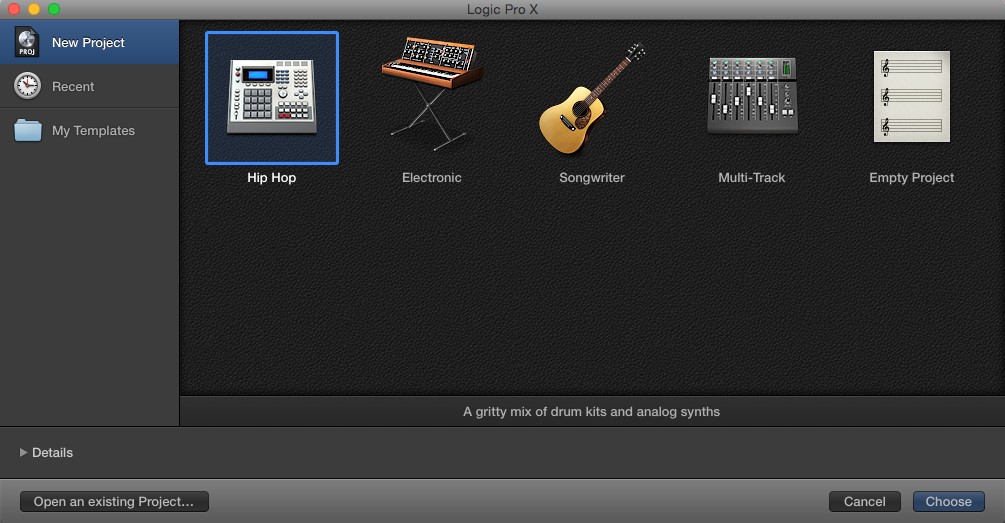
-New Project Screen
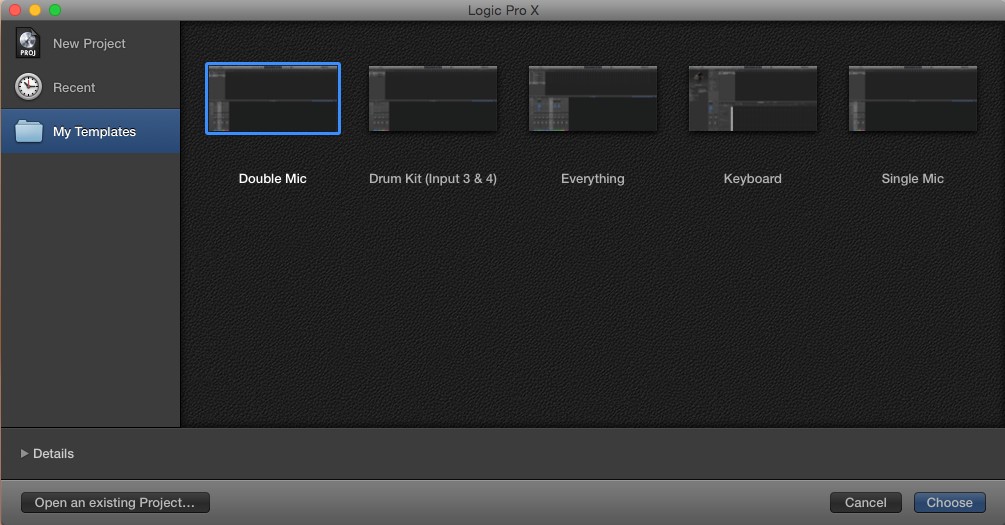
-My Templates Screen
If you have not opened up Logic, opening the Logic Pro Song Templates folder will provide a list of the same templates that can be opened and utilized as a starting point. The perk to using these templates is that it provides everything necessary in the program to start recording quicker. There are templates for one (Single Mic) or two (Double Mic) microphone sessions, a session that works with our drum set(Drum Kit), a session just for the keyboard (Keyboard), and a session which includes a track for every possible instrument provided (Everything).
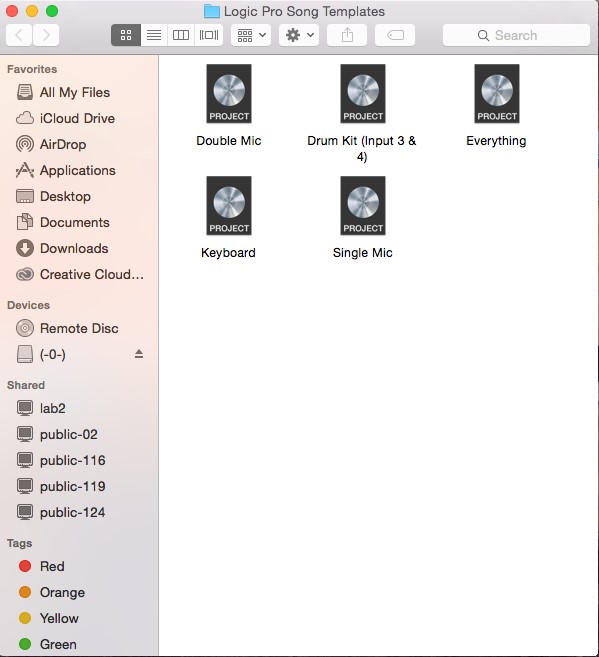
-Logic Pro Song Templates Folder
Once you open up a template, it is important to save a copy of your project in a folder or on the desktop of the computer. This can be done with the SAVE AS option under the FILE option at the top of the screen. It will be very similar to saving a document as you can choose the location on the computer you would like to save your project before saving.
1.2 Plugging in the Microphone
We have a few different microphones here at EPL. Two of the most commonly used microphones are the Shure SM57 and Shure SM58 microphones. All our microphones are plugged in using a cable called an XLR cable. This is a three pin cable that only can be plugged in when the holes and pins line up. If you are plugging in a microphone and it is not coming easily and you feel resistance, DO NOT force the cable. Rather, re-line up the pins to the holes and try again or seek out assistance from one of the staff members on desk.
The microphones are plugged into the bottom unit in the rack (the audio interface – it is black front plate, scarlet/red sides). There are spaces for two microphones to be plugged in on the front of the unit and are labeled “01” and “02”. The three pins should create an arrow pointing towards the floor when being plugged into the unit and there should be a small rectangular hole on the top of the metal end of the cable whilst it is being plugged in. As with plugging the cable into the microphone, if you find yourself having trouble or getting a large amount of resistance from the cable, DO NOT try and force the cable into the plug. Rather, find a staff member on desk who will walk you through the process.
1.3 Getting Signal to the Microphone
Once the microphone is plugged in, you need to get signal from the microphone to the computer. This is done through a combination of Logic and the audio interface (bottom unit on the rack).
On the next page, you’ll find an example of what the Single Mic template looks like.
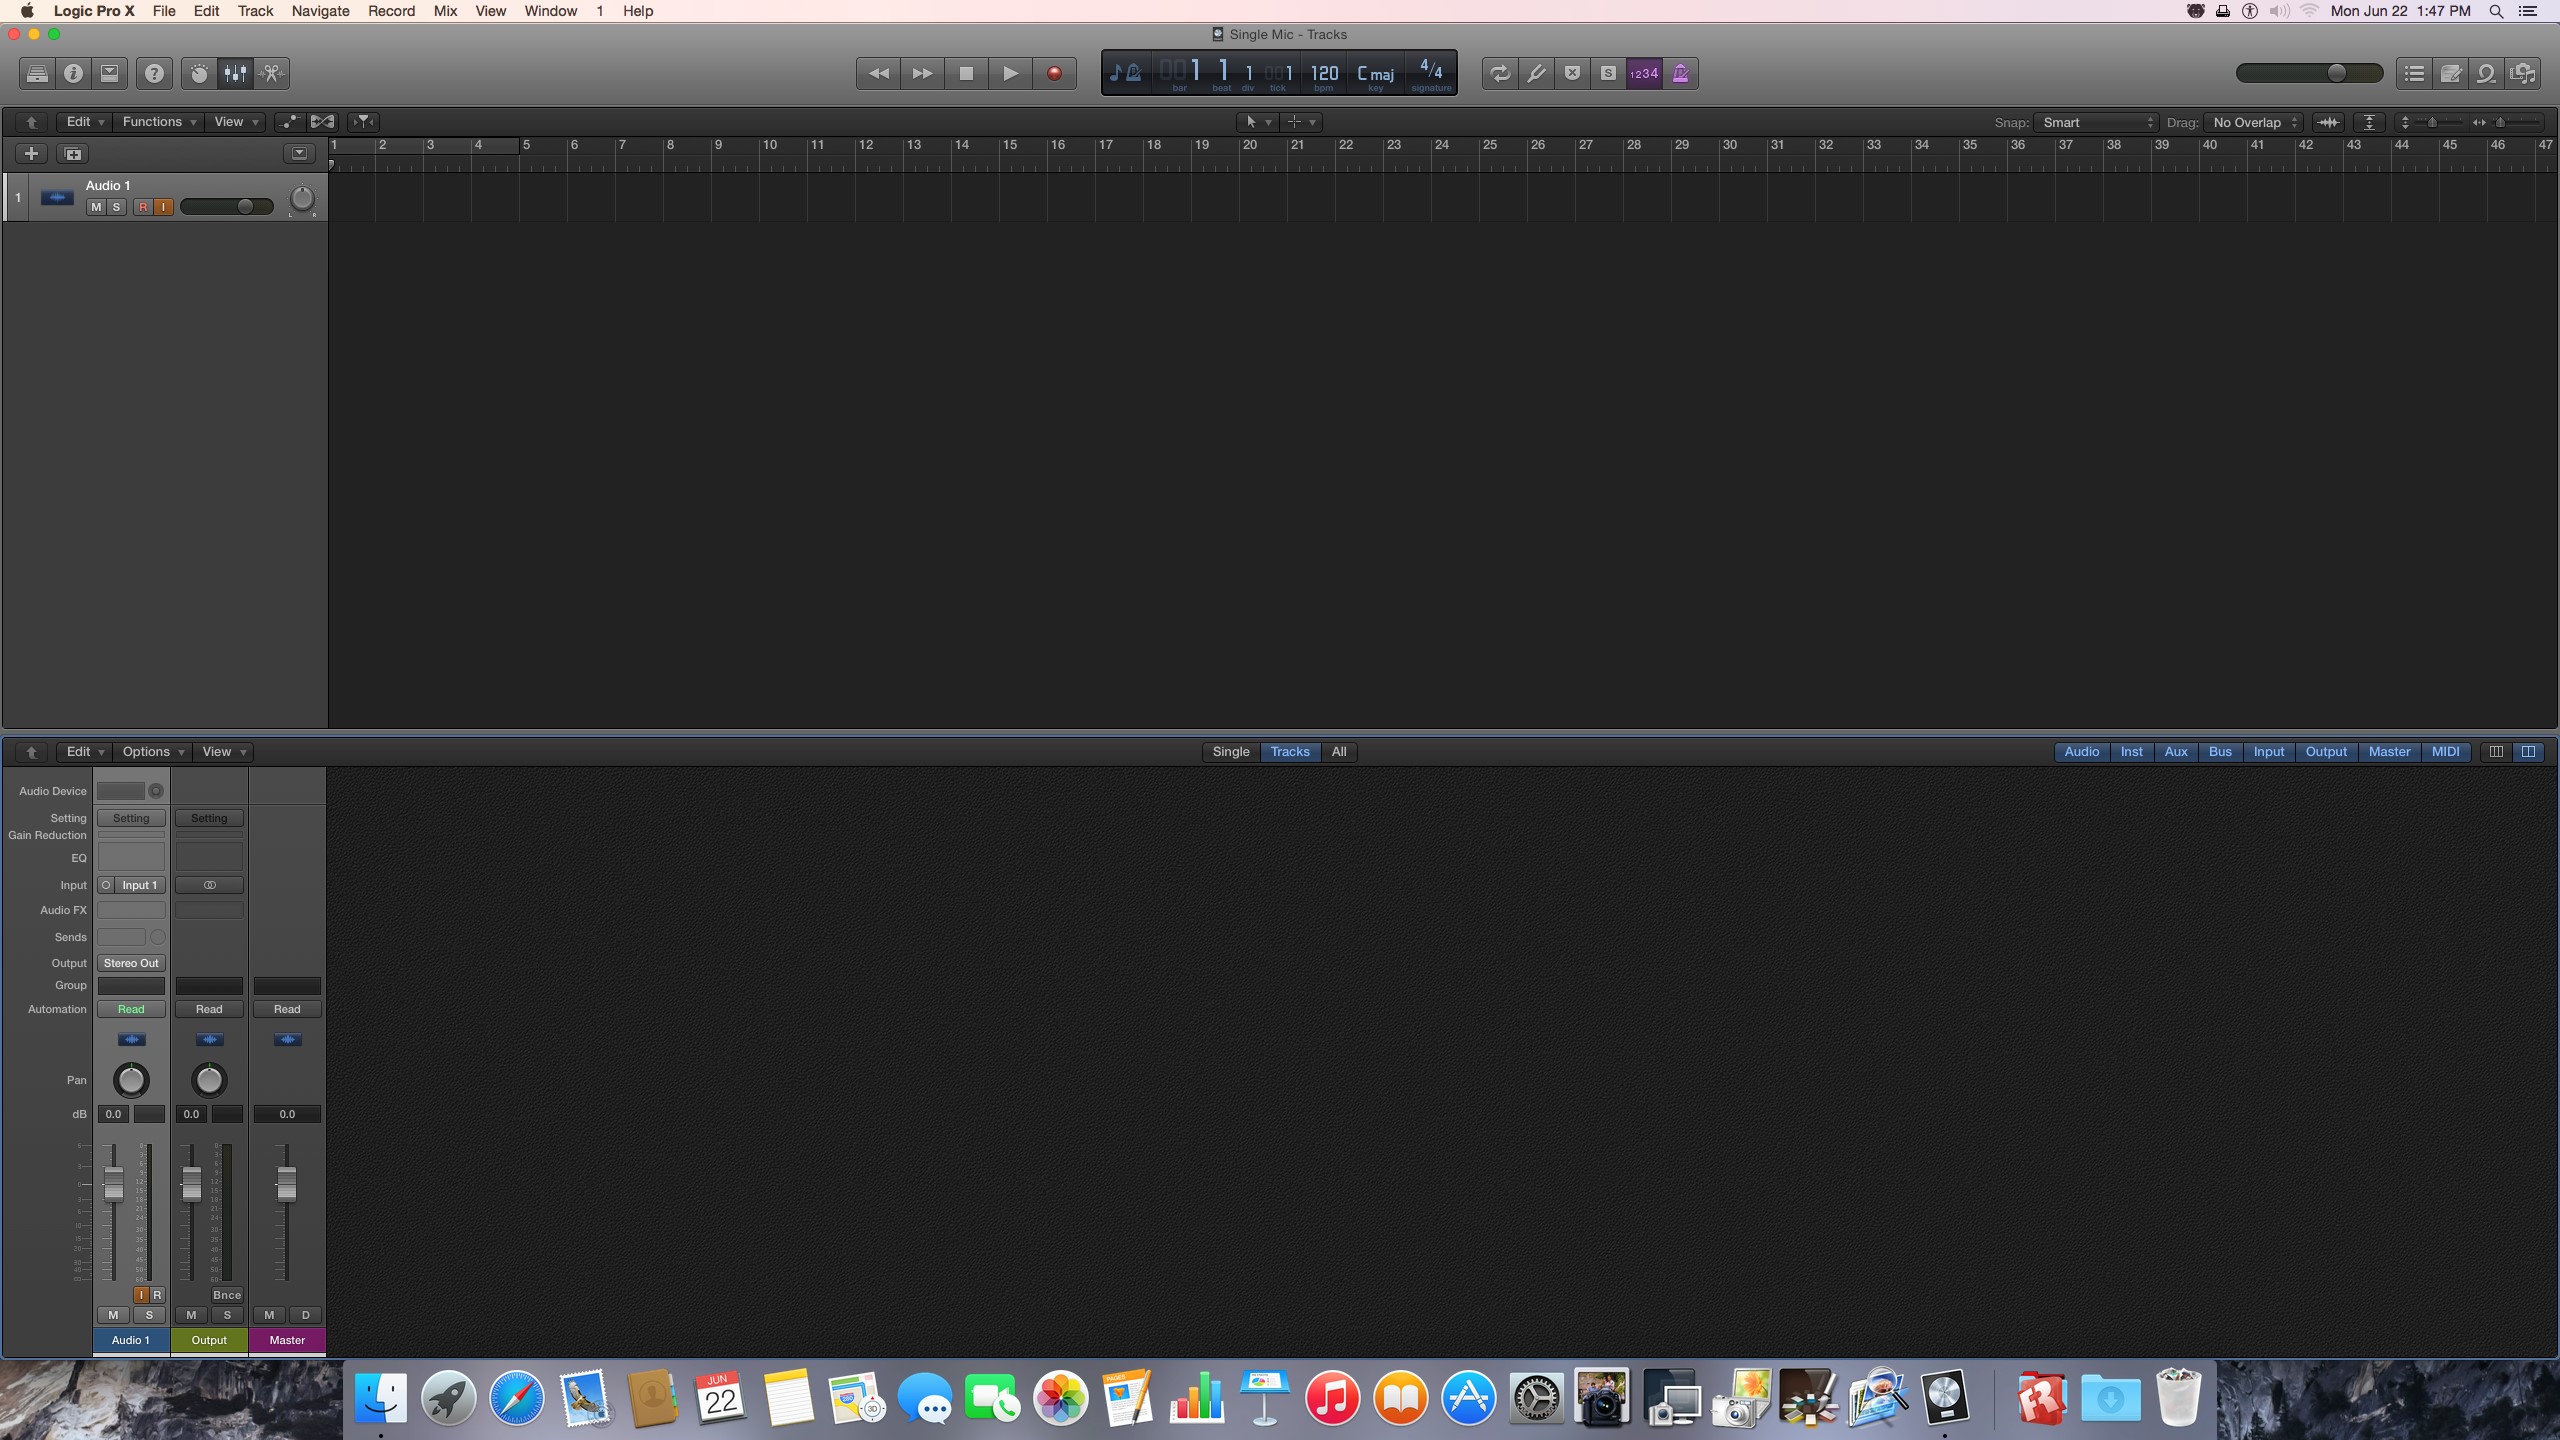
-Single Mic template
As you can see, there are quite a few parts on the program and it may seem a bit daunting at first, but once you learn the basics, everything comes together.
Click here for a Beginner’s Guide to Logic Pro. For advanced information, visit support.apple.com/logic-pro.