About Us
![]()
Prezi is an online presentation program. You can create presentations on the website and store them to the cloud so they can be accessed from anywhere. Prezi also allows you to share and work collaboratively with others, remotely, in real time.
To get started using Prezi you must create an account at Prezi.com. Free and paid options are available.
Build Your Prezi
Once you have an account and a topic for your Prezi, it’s time to get started. Click on the new “New Prezi” icon to bring up a menu of options. You can choose to use a premade template or make your own. If you choose a template you can fill in the boxes and provided and follow the pathways that have already been set for you.
If you choose to make your own, or want to add to a template, then you can make use of a few different options to build the Prezi that works for you.
Frame
Use the frame drop down on the left of your screen to choose a frame and shape. You will be able to type text into the frame. It can be placed anywhere in your Prezi and the size and shape can be changed as needed.
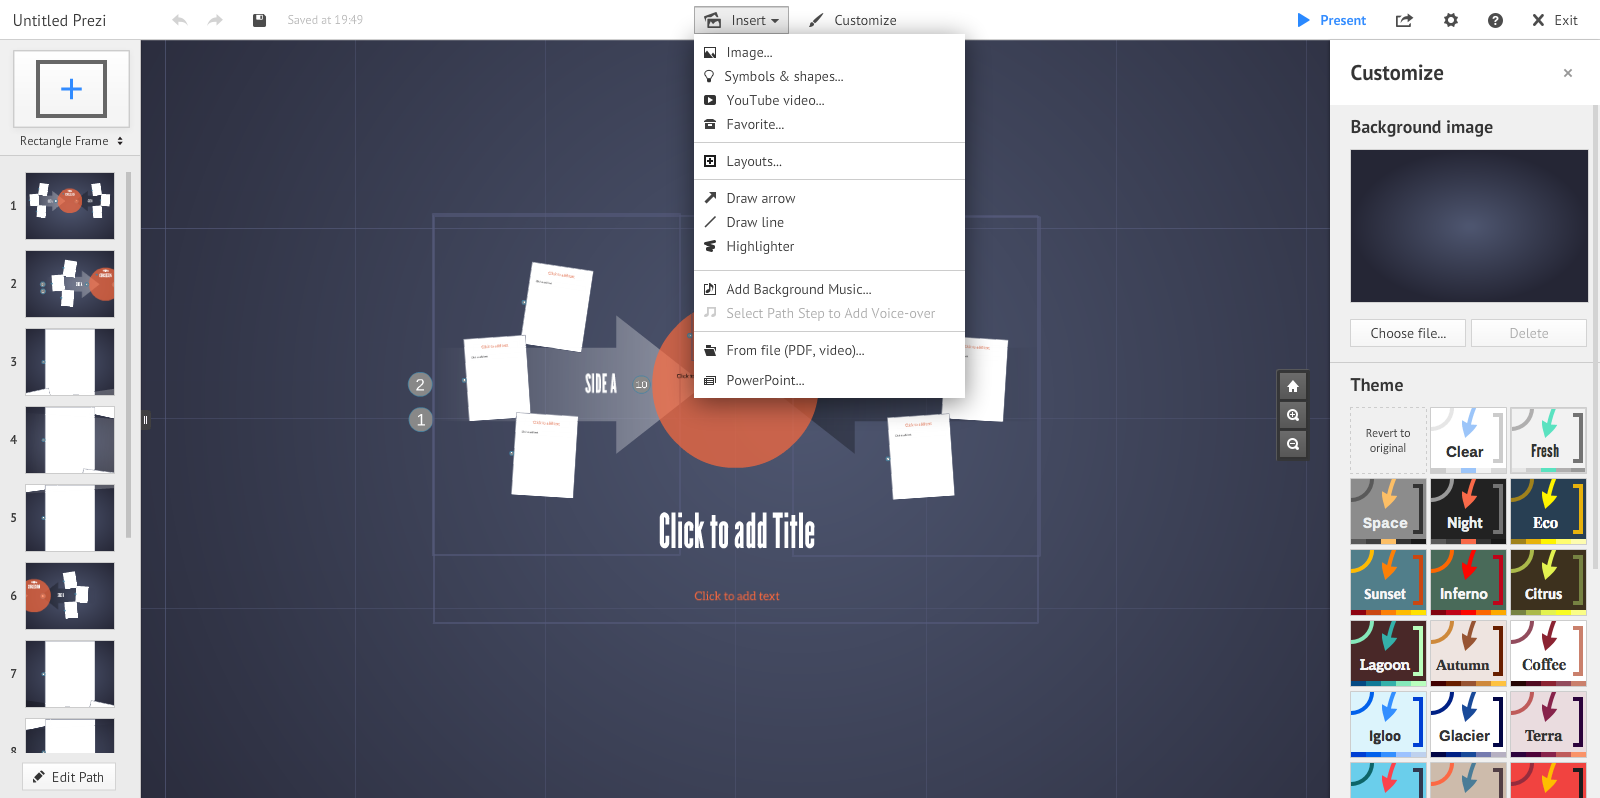
Insert
The insert drop down allows you to insert a variety of media, such as photos or video, to add detail and interest to your Prezi.
Customize
This button brings up a tool box on the right side of the screen that allows you to change the background image and theme.
Saving
The Prezi automatically saves as your work. The time of the last save will be displayed at the top of the page. If it hasn’t saved in a while, or you are closing your work for the time, you can click the save button to make sure your work has been saved.
The Path
When you are finished adding information and details to your presentation, it’s time to create a path. The path is the order that your presentation will follow when played. You will find the the “edit path” function at the bottom of the left side of your screen.
The path for templates is preset, but you can add new stops to the path by clicking on any additions or new stops that you would like to make. Then change the path order by clicking and the slides on the left side into the preferred place.
In a blank Prezi, the order and path are created as you add frames, images, and other elements. The method of changing order or adding new stops is the same.
Collaboration
If you are working with a group you can invite them to work on your Prezi no matter where they are. As long as your group members have a Prezi account and access to a computer and internet, they can log in and work on anything you have shared with them. You can share your project by choosing the ![]() icon. The drop down menu will have a “share Prezi…” option. Choose this and add other users by entering their email addresses in the box. Make sure to grant them “editor” status so they are able to make changes to the project.
icon. The drop down menu will have a “share Prezi…” option. Choose this and add other users by entering their email addresses in the box. Make sure to grant them “editor” status so they are able to make changes to the project.
Finishing
When you’re done, just press “exit.” This will take you to your Prezi page. From here you can choose to continue editing the project, download or save copy, share with others, or embed a link into a website. You can also choose whether or not to hide or make a project public. If you are working with a free account, the option to hide a project may not be available. You can also change the title or add a description underneath the presentation window.
Resources
For more detailed video tutorials and help, please visit the the Prezi support page
Or search for the Prezi Essential Training on LinkedIn Learning