


New & Coming Soon
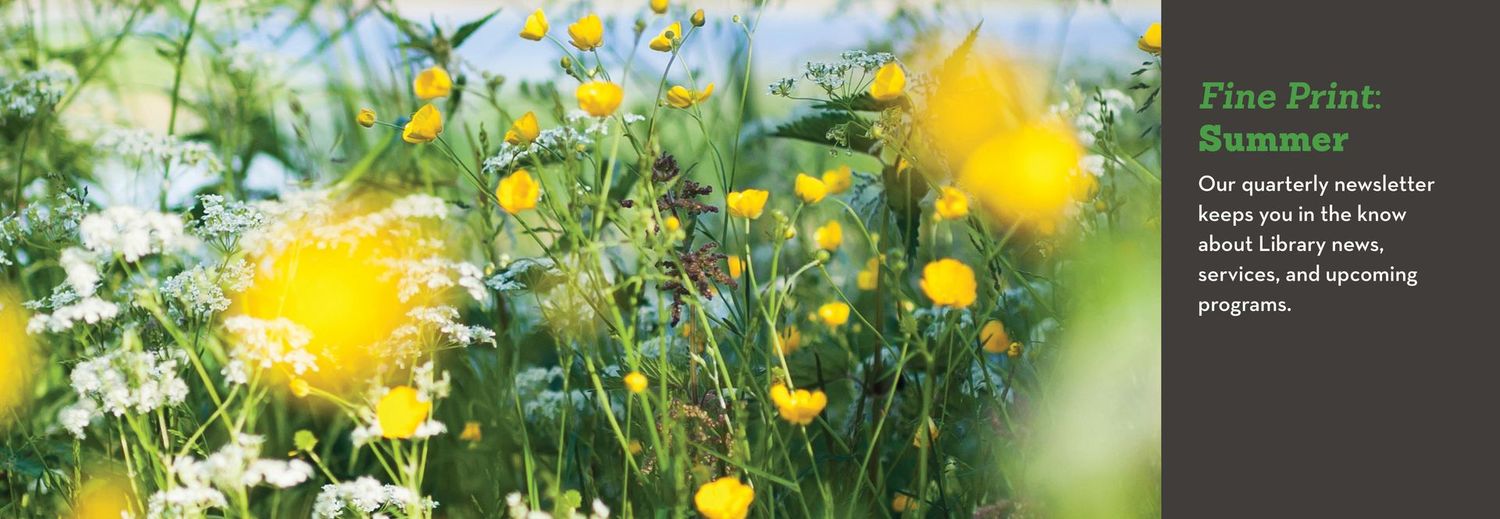
Fine Print Newsletter
News & Events
Library of Extraordinary Things
Staff Recommendations
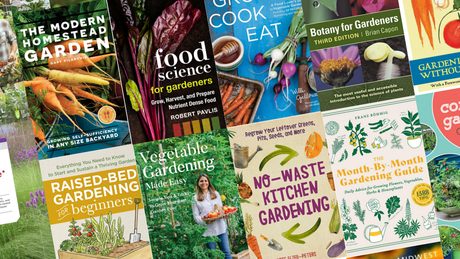
Grow Your Garden
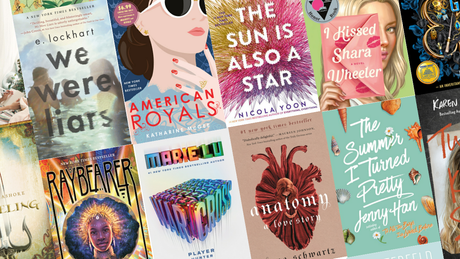
Teen Summer Reads
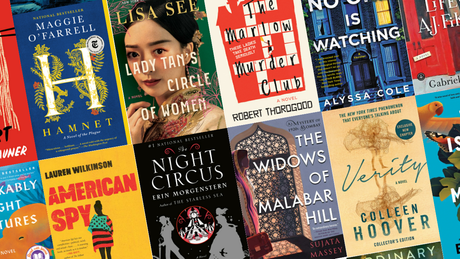
Book Discussion Collection
125 S. Prospect Avenue, Elmhurst, IL 60126
Phone: (630) 279-8696
Text: (331) 642-0375
Fax: (630) 516-1364

Grow Your Garden
Teen Summer Reads
Book Discussion Collection